
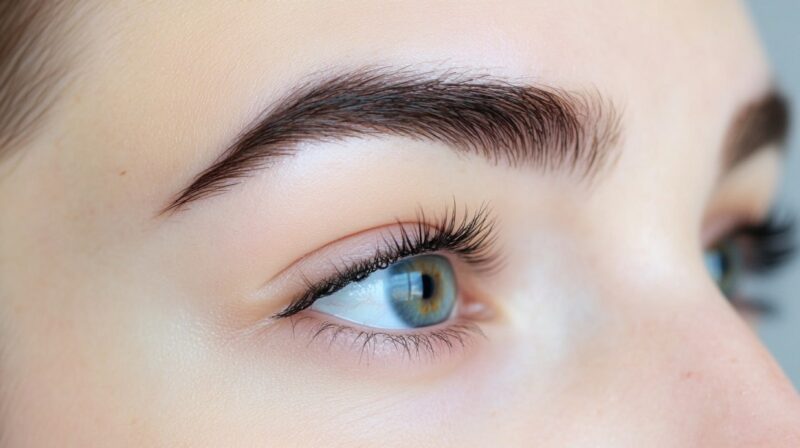
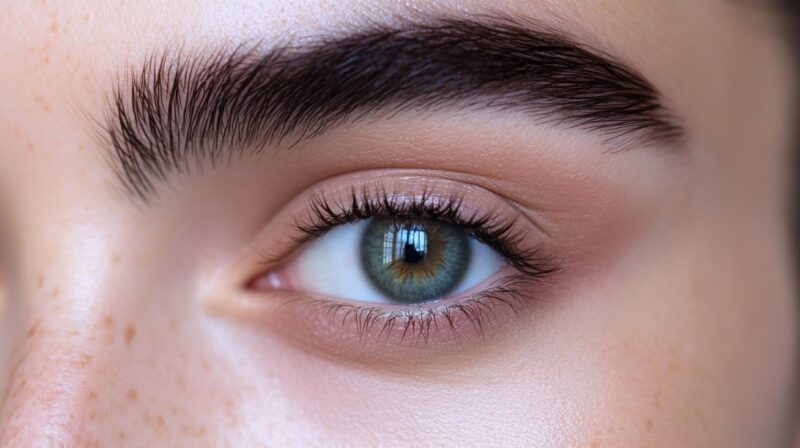
As we age, our bodies undergo numerous changes, and our faces are no exception. Two common concerns that can significantly impact our appearance are thinning brows and drooping eyelids. While these changes are a natural part of the aging process, they can leave us feeling less confident about our looks.
The good news is that with the right makeup tips, you can effortlessly enhance your features, create the illusion of fuller brows, and lift the appearance of your eyes.
This comprehensive guide will empower you with the knowledge and techniques to achieve a more youthful and vibrant appearance, focusing on makeup for thinning brows and drooping eyelids. We’ll explore everything from brow-filling strategies to clever eyeliner tricks, all designed to be easy to understand and implement, even for beginners.
Thinning eyebrows can be attributed to several factors. Age is a primary culprit, as hair follicles naturally produce finer, sparser hairs over time. Hormonal changes, such as those experienced during menopause, can also play a significant role. Over-plucking in earlier years can damage follicles, leading to permanent hair loss.
Additionally, certain medical conditions and nutritional deficiencies can contribute to the thinning of the brows. The good news is that clever eyebrow-thinning makeup tips can make a dramatic difference.
Why Eyelids Droop: The Anatomy of Sagging Lids
Drooping eyelids, medically known as ptosis, occur when the upper eyelid sags. This can be due to a weakening of the levator muscle, which is responsible for lifting the eyelid, or a loss of elasticity in the skin around the eye. As we age, our skin loses collagen and elastin, causing it to become less firm and more susceptible to the effects of gravity.
Genetics can also play a role. While severe cases may require medical intervention, droopy eyelid makeup techniques can effectively create a more open and lifted appearance.
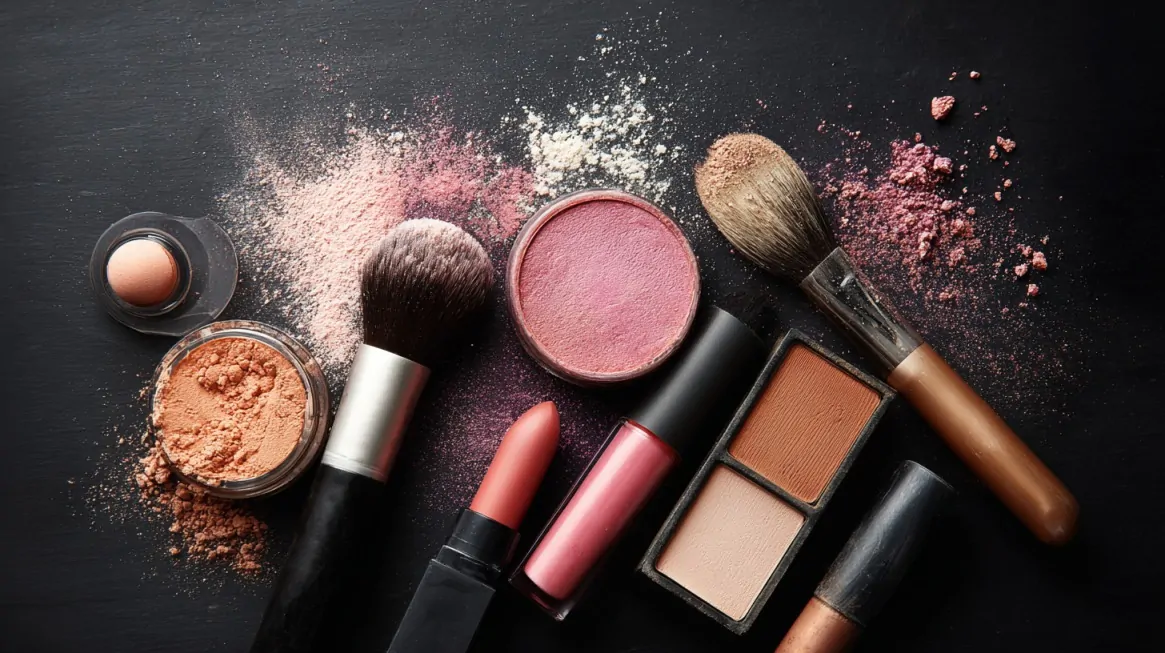
Makeup Tools for Thinning Brows and Drooping Lids
Having the right tools is crucial for a successful application, especially when addressing specific concerns like makeup for hooded eyes or sparse brows.
Brow-Enhancing Essentials
- Brow Pencil: Look for a fine-tipped pencil that allows you to draw individual hair-like strokes.
- Brow Powder: Ideal for filling in larger, sparse areas and creating a softer, more natural look.
- Brow Gel (Tinted or Clear): Helps to set hairs in place and can add a subtle tint for extra fullness.
- Spoolie Brush: Essential for blending product and grooming brow hairs.
- Angled Brow Brush: Perfect for applying brow powder with precision.
Eye-Lifting Makeup Kit
- Eyeshadow Primer: Creates a smooth base, enhances shadow longevity, and prevents creasing on drooping lids.
- Neutral Eyeshadow Palette: Opt for matte shades in various neutrals (creams, browns, taupes) to create depth and dimension.
- Eyeliner (Pencil, Gel, or Liquid): Experiment with different formulas to find what works best for your lifted eye makeup goals.
- Mascara (Volumizing and Lengthening): Opens up the eyes and draws attention upward.
- Eyelash Curler: A simple yet effective tool for creating a more awake and open eye look.
- Small, Tapered Eyeshadow Brushes: For precise application and blending, essential for makeup for hooded eyes.
Mastering Makeup for Thinning Brows
Filling in thinning brows is about creating the illusion of natural hair and definition without looking drawn on. Here are some practical makeup tips for thinning brows.
Choosing the Right Shade
This is the most critical step. Selecting the wrong shade can make your brows look unnatural and harsh.
- For Blondes and Redheads: Opt for a shade that is one to two shades darker than your hair color. Avoid overly warm or reddish tones unless your hair has a distinct red undertone.
- For Brunettes: Choose a shade that matches your hair color or is slightly lighter, especially if your hair is dark. Going too dark can look severe.
- For Gray or Silver Hair: A light to medium taupe or soft gray shade works well. Avoid anything too warm or too dark.
- General Rule: If in doubt, lean towards a cooler-toned shade, as it tends to look more natural on most skin tones.
| Hair Color | Recommended Brow Shade | Avoid |
| Blondes and Redheads | 1-2 shades darker than hair, cool/neutral | Overly warm or reddish tones |
| Brunettes | Matches hair or slightly lighter, neutral | Too dark, it can look severe |
| Gray/Silver Hair | Light to medium taupe or soft gray | Anything too warm or too dark |
| General Rule | Lean towards cooler-toned shades | Harsh, overly saturated colors |
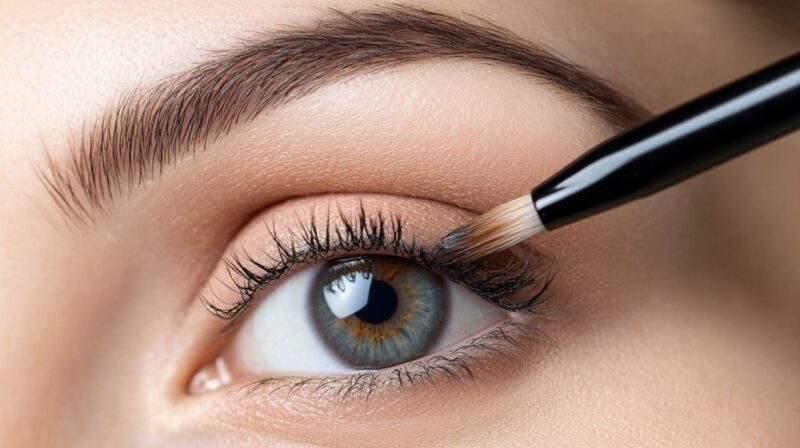
Techniques for Fuller-Looking Brows
Here’s a step-by-step guide to achieving natural-looking, fuller brows using various products.
1. The Pencil Perfector
The brow pencil is excellent for creating precise, hair-like strokes.
- Step 1: Brush Up: Use a spoolie brush to comb your brow hairs upward. This helps you see the natural shape and any sparse areas.
- Step 2: Define the Arch: Lightly outline the bottom edge of your brow, starting from the inner corner and following the natural curve of your arch.
- Step 3: Create Hair-Like Strokes: Using light, feathery strokes, draw small lines in the direction of your hair growth, focusing on sparse areas. Think of it as mimicking individual hairs.
- Step 4: Fill and Blend: Gently fill in any remaining gaps to achieve a smooth blend. Use the spoolie again to blend out any harsh lines and distribute the product evenly.
- Step 5: Set (Optional): If your brows tend to move or you want extra hold, apply a clear or tinted brow gel for added definition.
2. Powder Power for Softness
Brow powder offers a softer, more diffused look, ideal for filling in larger areas of sparseness.
- Step 1: Prep: Brush your brows with a spoolie.
- Step 2: Dip and Tap: Gently dip an angled brow brush into your brow powder, then tap off any excess.
- Step 3: Apply with Light Pressure: Start by applying the powder to the tail of your brow, where hairs are often thinnest. Use light, short strokes, following the direction of hair growth.
- Step 4: Build Up Gradually: Work your way towards the front of the brow, using even lighter pressure. The front of the brow should be the lightest and most natural-looking.
- Step 5: Blend: Use a clean spoolie to blend the powder seamlessly, softening any harsh edges.
3. The Power of Tinted Brow Gel
Tinted brow gel is a quick and easy way to add volume and definition, especially for those with existing brow hairs that just need a little boost.
- Step 1: Brush Up: Use the spoolie or the gel’s brush to comb your brow hairs upward.
- Step 2: Apply Gel: Starting from the inner corner, brush the tinted gel through your brows, going against the direction of growth first to coat all sides of the hairs.
- Step 3: Shape and Set: Then, brush the gel in the direction of hair growth to shape and set it in place. This creates a fuller, more defined look.
Common Brow Mistakes to Avoid
- Drawing a Single, Harsh Line: This looks unnatural and can age your face.
- Choosing the Wrong Shade: Using a shade that is too dark or too warm can be unflattering.
- Over-Filling the Front of the Brow: Keep the inner corner softer and lighter for a more natural gradient.
- Forgetting to Blend: Harsh lines are a dead giveaway of filled-in brows. Always blend with a spoolie.
- Ignoring Your Natural Arch: Work with your natural brow shape, rather than trying to create an entirely new one.
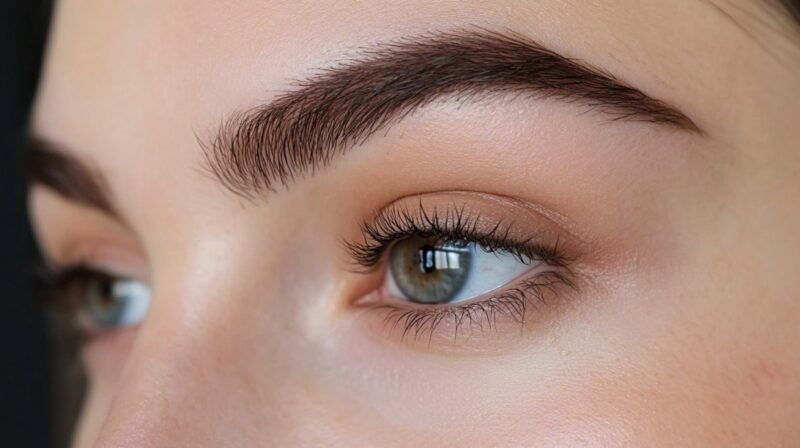
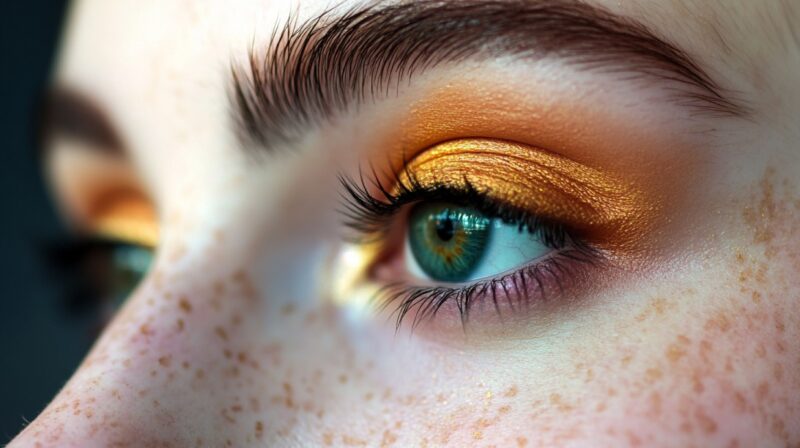
Expert Makeup for Drooping Lids: Lifting and Brightening
Drooping lids can make eyes appear smaller, more tired, and less open. The goal of makeup for hooded eyes is to create the illusion of a lifted and more expansive eyelid space.
Creating the Illusion of Lift
Here are some key strategies to achieve a more lifted eye look.
1. Master the Crease: The Hidden Lifting Technique
For drooping lids, identifying and working with your actual crease (which may be hidden) is paramount.
- Find Your New Crease: Look straight into a mirror. The point where your upper eyelid folds into itself is your natural crease. For hooded eyes, this can be obscured. Instead, we’ll create a new, higher crease just above your natural crease, in the area where your eyelid is visible when your eyes are open.
- Apply a Transition Shade: Using a fluffy blending brush, apply a matte, neutral eyeshadow shade (a few shades darker than your skin tone, such as a soft brown or taupe) to this new, higher crease. Blend back and forth in windshield wiper motions, extending slightly past the outer corner of your eye. This creates depth and pushes the “hood” back.
- Blend Upwards: Always blend your eyeshadow upwards and outwards towards your temple. This elongates the eye and contributes to the lifted effect of the eye makeup.
2. Brighten the Lid Space
Brightening the movable eyelid instantly makes the eyes appear more open and awake.
- Light, Shimmery Shades: Apply a light, shimmery eyeshadow (cream, champagne, or a very light taupe) to the entire movable eyelid, from the lash line up to your new crease. Shimmer reflects light, making the area appear larger and more prominent. Avoid dark or matte shadows on the lid itself, as they can make the eye recede.
- Inner Corner Highlight: A touch of a very light, shimmery highlight in the inner corner of your eye instantly brightens and opens up the entire eye area.
3. Strategic Eyeliner for a Lift
Eyeliner can be tricky with droopy lids, but when done correctly, it’s incredibly effective for achieving a lifted eye makeup look.
- Tightlining: Apply a waterproof black or dark brown eyeliner to your upper waterline (the inner rim of your upper eyelid). This makes your lashes appear thicker and defines the eye without taking up valuable lid space.
- Thin Line at the Lash Line: Draw a skinny line of liquid or gel eyeliner as close to your upper lash line as possible. The thinner, the better, especially at the inner corner. As you move towards the outer corner, you can slightly thicken the line.
- The Upward Flick (Winged Liner for Droopy Lids): This is where the magic happens. Instead of drawing a wing straight out, imagine a line extending from your lower lash line upwards towards the tail of your brow.
- Step 1: Create a small dot where you want the tip of your wing to end, aiming slightly upwards.
- Step 2: From the outer corner of your upper lash line, draw a short, straight line connecting to that dot.
- Step 3: From the top of that line, draw another line back down to meet your upper lash line, forming a small triangle.
- Step 4: Fill in the triangle. The key is to keep the wing short and angled upwards to create a lifted eye makeup effect, rather than dragging the eye down. Avoid thick, heavy wings that can weigh down the lid.
4. The Power of Mascara and Lash Curling
These simple steps make a huge difference in opening up the eyes.
- Curl Your Lashes: Use an eyelash curler to curl your upper lashes gently. Hold the curler at the base of your lashes for a few seconds, then move it slightly up and pulse, and finally, move it to the tips and pulse again. This creates a beautiful, upward sweep.
- Volumizing and Lengthening Mascara: Apply at least two coats of a good volumizing and lengthening mascara. Focus on wiggling the wand at the base of your lashes and pulling it upwards towards the tips. This adds lift and draws attention to your eyes. Consider waterproof mascara if your lashes tend to droop easily.
- Lower Lashes (Optional): A very light touch of mascara on the lower lashes can open up the eye, but avoid heavy application, as it can sometimes cast shadows and make eyes look more tired.
Everyday Eye Makeup Mistakes to Avoid with Drooping Lids
- Applying Dark Shadow on the Entire Lid: This can make eyes appear smaller and more recessed.
- Thick Eyeliner Across the Entire Lid: Too much liner can disappear into the hood or make the eye look heavier.
- Downward-Slanting Eyeliner: This technique will accentuate the droop and give the eyes a sad appearance.
- Forgetting Eyeshadow Primer: This is crucial for preventing creasing on droopy lids.
- Not Blending: Harsh lines are a giveaway and detract from the soft, lifted look.
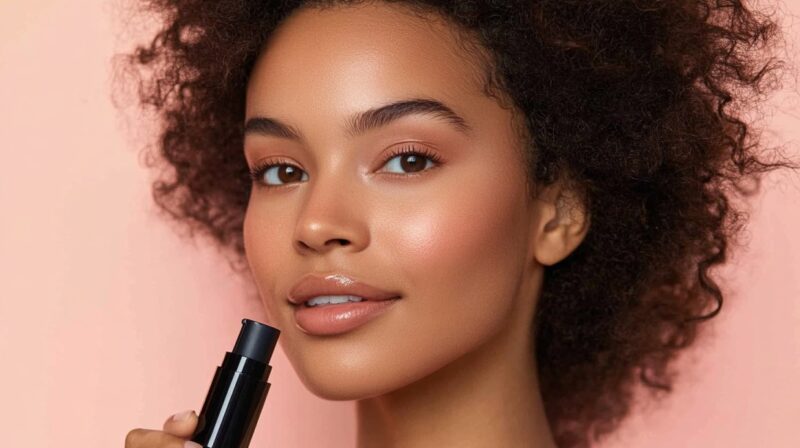
Beyond the Brows and Lids: Complementary Makeup Tips
While our focus is on brows and lids, other makeup techniques can further enhance your overall look and contribute to a more youthful appearance.
Brightening the Under-Eye Area
Dark circles and puffiness can make eyes look more tired and emphasize drooping.
- Color Corrector: If you have prominent dark circles, applying a peach or orange-toned color corrector sparingly before concealer can help neutralize the darkness.
- Concealer: Choose a concealer that is one shade lighter than your foundation. Apply it in a V-shape under your eye, from the inner corner to the outer corner, and then blend it out. Avoid applying too much, as it can settle into fine lines.
- Setting Powder: Lightly set your under-eye concealer with a translucent setting powder to prevent creasing and increase longevity.
Adding Youthful Flush with Blush
As we age, our faces can lose some of their natural color. Blush can instantly bring back a youthful glow.
- Placement is Key: Instead of applying blush directly to the apples of your cheeks (which can pull the face down), use it slightly higher on your cheekbones, blending upwards towards your temples. This creates a lifted effect.
- Cream or Liquid Blush: These formulas often provide a more natural, dewy finish that is more flattering on mature skin than powder blushes, which can sometimes settle into fine lines.
- Shade Selection: Opt for soft, natural shades like peach, rose, or warm pink.
Defining Lips for Balance
As we age, lips can lose their natural fullness and definition.
- Lip Liner: Use a lip liner that matches your natural lip color or lipstick shade to define your lip shape and prevent feathering. You can slightly overline your cupid’s bow for a fuller look, but avoid overlining to an extreme extent.
- Hydrating Lipsticks: Opt for hydrating or satin-finish lipsticks over very matte formulas, as they can accentuate lip lines and make your lips appear drier.
- Gloss (Optional): A touch of clear or tinted gloss in the center of your lips can add a plumping effect.
Maintaining Your Look: Longevity and Touch-Ups
Once you’ve mastered these makeup tips, you’ll want to ensure your look lasts all day.
Setting Your Makeup
- Setting Spray: A good setting spray will lock your makeup in place, prevent fading, and can even help to meld powders into a more skin-like finish. Hold the bottle about arm’s length away and mist evenly over your face after completing your makeup.
- Light Powdering: If you have oily skin or want extra longevity, lightly dust translucent setting powder only on areas that tend to get shiny, such as the T-zone.
Touch-Up Essentials
For quick touch-ups throughout the day:
- Blotting Papers: To absorb excess oil without disturbing your makeup.
- Pressed Powder: For quick mattifying and evening out skin tone.
- Lipstick/Gloss: For refreshing your lip color.
- Brow Pencil/Gel: For any brow emergencies or touch-ups.
Beyond Makeup: Holistic Approaches
While makeup is a powerful tool, it’s also worth considering holistic approaches that can support brow and lid health.
Brow Growth Serums
Many serums on the market contain peptides and vitamins designed to stimulate hair growth. Consistency is key when using these products.
Skincare for the Eye Area
- Gentle Cleansing: Always remove eye makeup thoroughly but gently to avoid tugging on delicate skin.
- Eye Cream: Use an eye cream with ingredients like hyaluronic acid for hydration, peptides for collagen support, and antioxidants for protection. Apply gently with your ring finger.
- Sun Protection: Always wear sunglasses and apply broad-spectrum sunscreen to the delicate eye area to prevent premature aging and collagen breakdown.
Lifestyle Factors
- Nutrition: A balanced diet rich in vitamins (especially biotin, vitamin E, and C) and minerals can support healthy hair and skin.
- Hydration: Drinking plenty of water keeps skin plump and hydrated.
- Sleep: Adequate sleep helps reduce puffiness and dark circles.
- Stress Management: Chronic stress can impact overall health, including hair growth and skin elasticity.
FAQs
Conclusion
Navigating the changes that come with age, like thinning brows and drooping lids, doesn’t mean sacrificing your confidence or your love for makeup. With the right makeup tips and techniques, you can transform your look, creating the illusion of fuller, more defined brows and lifted, more open eyes.
Remember, makeup for thinning brows and makeup for drooping lids is not about hiding but about enhancing your natural beauty. Experiment with the suggestions provided, find what works best for your unique features, and embrace the power of makeup to feel beautiful and empowered at any age.
These beginner-friendly, fact-based strategies are designed to be easy to implement, enabling you to achieve a refreshed and radiant appearance with confidence.